If you are not familiar with the suitable tools for the application, moving Outlook OST files to a new location can be difficult. Following the advice in this post will help you to easily move the OST file to an other computer. Furthermore advised is the use of an automatic OST to PST converter application to enable the quick exporting OST file processing.
OST files can be quickly and with minimal effort transferred to a new system.
When handling difficult chores like exporting OST files, it is quite essential to apply tried-and- proven procedures. The steps needed to export and convert an OST file to a PST file will be succinctly discussed in this part of the paper. To avoid any failure, one should carefully go over and follow the method.
Find and name the OST file currently housed on your PC.
You first must be familiar with the location of OST files before starting the process of moving them to a new system. Therefore, keep reading if you are interested about the whereabouts of these files on your computer since we will cover all here. Following the guidelines below will help you to clear the name and location of your OST file from your PC. The technique applied for practically all versions of Windows is not much different.
1.Press Windows and S first; type Control Panel thereafter.
- Start the process using a choose control panel.
3.Before going forward, make sure the category customising option is set to Small Icons.
4.Search for the Mail option using the Control Panel; then, select it for additional action.
Your mail services will now open a little chat box for setup. You ought to click a button marked "Data Files".
Once you're finished, you'll see an account setup window show. Verify that you are now on the Data Files tab; this is the default option; should you not be on that page right now, be sure you click on it.
7.After that, choose the account from which the OST file is to be found. One will observe that the text mentions a location. That is something like what you were searching for. You will have to find the position and get your OST records. Choose the Open File Location tab after first the OST file you require access from. This will let you access the folder straight forwardly.
- You will open the file OST from which you have opened the directory You have to first browse the OST file to view it.
We are starting exports of the OST file right now. We will finish the work using two separate methods: first, we will use the export option accessible in Outlook; second, we will use an advanced OST to PST converter application.
exporting Microsoft Outlook OST files
Among its many sophisticated features is an export tool that allows OST files to be PST file-based transferred to a new system. Outlook also has numerous other capabilities. The similar approach should be applied in following suggestions:
Launch Outlook, then from the menu of the interface choose File.
Choose Open & Export second; then, under Import/Export, click.
Click the Next button to advance from choosing Export from a file in the Import and Export Wizard.
Under Outlook Data File (.pst), choose Next.
Choose the folder you wish to export now, then ensure the Include subdirectory checkbox is marked. To forward, click this link.
Clicking the Finish button starts the exporting process once you have decided where to save your PST file. Clicking the Browse button.
See the PST file you have after visiting the site mentioned in the last step.
OST to PST converter tool with enhanced OST file conversion advanced features
Outlook is prone to flaws and vulnerabilities even if it is a great product from Microsoft. Should Outlook fail to export your OST file for any kind of reason, you have the alternative approach to move the OST file to another device.
From now on, we will effectively translate every OST file to PST using an automated program called OST in concert with strong algorithms. The OST to PST converter program offers a basic and easy-to-use structure to help with conversion procedure.
free download devoid of any risk whatsoever.
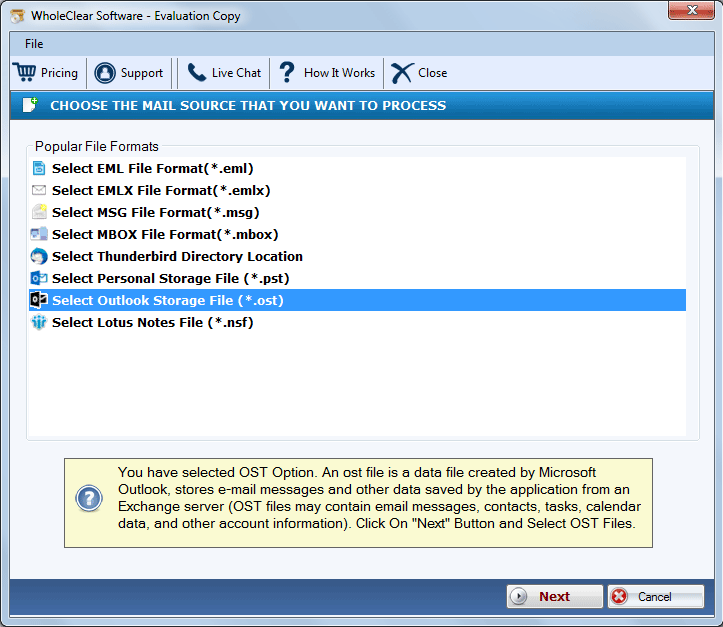
You should search on your system for OST:
Clicking the Browse option will allow you to choose the OST file once the program has been totally installed and open. You have to hit the Next button if you are to advance.
Right here one can obtain a glimpse of the OST file's contents. Keep by clicking this link.
Click NEXT once you have chosen PST files (MS Outlook).
E. Use mailbox data filters in line with advice given for your particular needs. Next button: tap.
One can control the PST files by choosing to add a prefix or split them. Change next.
Click Browse to choose your chosen file saving option and to specify a directory for the just generated file. Click the Finish button to start the savings process.
H. Click the OK button following data saving.
At last,
Users with administrator rights can synchronise their past emails with a new profile they create on the target system. By exporting OST files with Outlook or converting them using an OST converter following the few procedures described on this blog, other individuals can migrate OST files to a new machine in a safe manner. To effectively and fast retrieve the OST file, it is highly advised that you utilise the professional OST to PST converter application.


Top comments (0)